Your Cart is Empty
Menu
-
- Browse by Vehicle
- Accessories
- 3rd Party Solutions
- Bar Clamps for Roll Bars
- Cable Management & Organization
- Chrome
- Connectors and Adaptors
- Device / Phone Holders
- Electronics
- Installation Hardware
- MOLLE
- Mounting Arms
- Mounting Bases
- Picatinny-style Rails
- Radar Detector Mounts
- Replacement Parts
- Swag & Merch
- Switch Panel & Controller Mounts
- 1 inch Ball Components
- RubiGrid®
-
- Blog
- Company Support
- Product Help

Create your Own Wireless Charging Phone Mount with Bulletpoint Components
September 14, 2021 2 min read

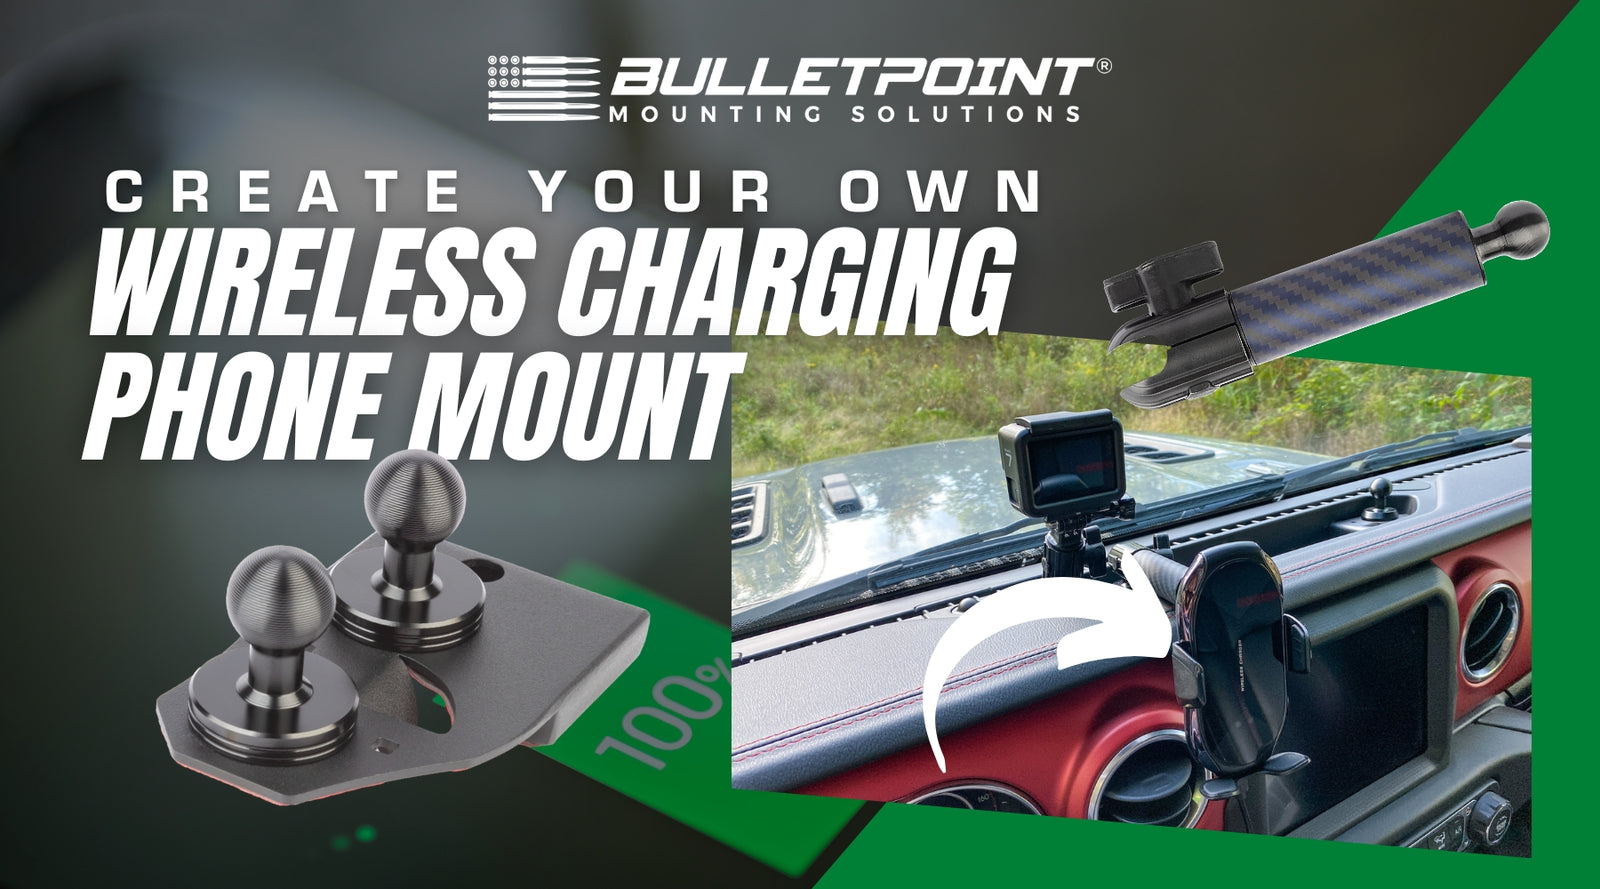
If you're looking for a phone mount that combines the sturdiness and rigidity of a Bulletpoint Mounting Solutions setup with the convenience of wireless charging, we've put together the following video showing how you can create your own hybrid setup.
The 3 main components for creating a wireless phone charging setup include:
- Wireless Charging Cradle (3rd Party)
- Bulletpoint Mounting Solutions Base
- Bulletpoint Mounting Solutions Mounting Arm with 17mm Ball End
Component #1: 3rd Party Wireless Charging Cradle
Most of the wireless chargers on the market come in a kit and usually include something like a suction cup mount. It isn't the most secure or the most stable.
When selecting your wireless charger, you will need to make sure the back side of the cradle features a 17mm connecting socket. A lot of the wireless chargers use this size so it shouldn’t be difficult to find and they usually display this info on the product listings.
Looking for the exact wireless charger we used? Check it out here.

Component #2: Mounting Base
For a secure mounting connection with your vehicle, you will need one of our vehicle specific or universal bases.
Browse all of our Vehicle-Specific and Universal Mounting Bases.

Component #3: Mounting Arm with 17mm Ball End
To bridge the gap between the base and wireless charger, you'll need our Mounting Arms with 17mm ball end.
Another option is to use any of our standard mounting arms with 20mm socket ends in combination with a 20 to 17mm Connecting Socket.
Without this connecting socket, our standard mounting arm will not work since it features 2 socket ends (female) and the cradle requires a male 17mm ball to work.

Every vehicle is a bit different in terms of what arm you should use. Most Jeep, Ford and RAM Trucks would use the mounting arm with 17mm ball end.
However, for 3rd Generation Toyota Tacomas, since our mounting base sits on the radio bezel, the shorter 1cm mounting arm with a 20 to 17mm Elbow Connector would be the recommended configuration.
If you have any questions about what configuration would be best for your vehicle, don't hesitate to Contact Us.
<div class="dynamic-checkout__content" id="dynamic-checkout-cart" data-shopify="dynamic-checkout-cart"> <shopify-accelerated-checkout-cart wallet-configs="[{"supports_subs":true,"supports_def_opts":false,"name":"shop_pay","wallet_params":{"shopId":22344731,"merchantName":"Bulletpoint Mounting Solutions","personalized":true}},{"supports_subs":false,"supports_def_opts":false,"name":"paypal","wallet_params":{"shopId":22344731,"countryCode":"US","merchantName":"Bulletpoint Mounting Solutions","phoneRequired":false,"companyRequired":false,"shippingType":"shipping","shopifyPaymentsEnabled":true,"hasManagedSellingPlanState":false,"requiresBillingAgreement":false,"merchantId":"GBAFWV8WZ45EY","sdkUrl":"https://www.paypal.com/sdk/js?components=buttons\u0026commit=false\u0026currency=USD\u0026locale=en_US\u0026client-id=AfUEYT7nO4BwZQERn9Vym5TbHAG08ptiKa9gm8OARBYgoqiAJIjllRjeIMI4g294KAH1JdTnkzubt1fr\u0026merchant-id=GBAFWV8WZ45EY\u0026intent=authorize"}}]" access-token="136cd65d849afa20225439552f3e545f" buyer-country="US" buyer-locale="en" buyer-currency="USD" shop-id="22344731" cart-id="9807d77cd809d5e0270cd5c0355ce608" enabled-flags="["ae0f5bf6"]" > <div class="wallet-button-wrapper"> <ul class='wallet-cart-grid wallet-cart-grid--skeleton' role="list" data-shopify-buttoncontainer="true"> <li data-testid='grid-cell' class='wallet-cart-button-container'><div class='wallet-cart-button wallet-cart-button__skeleton' role='button' disabled aria-hidden='true'> </div></li><li data-testid='grid-cell' class='wallet-cart-button-container'><div class='wallet-cart-button wallet-cart-button__skeleton' role='button' disabled aria-hidden='true'> </div></li> </ul> </div> </shopify-accelerated-checkout-cart> <small id="shopify-buyer-consent" class="hidden" aria-hidden="true" data-consent-type="subscription"> One or more of the items in your cart is a recurring or deferred purchase. By continuing, I agree to the <span id="shopify-subscription-policy-button">cancellation policy</span> and authorize you to charge my payment method at the prices, frequency and dates listed on this page until my order is fulfilled or I cancel, if permitted. </small> </div>